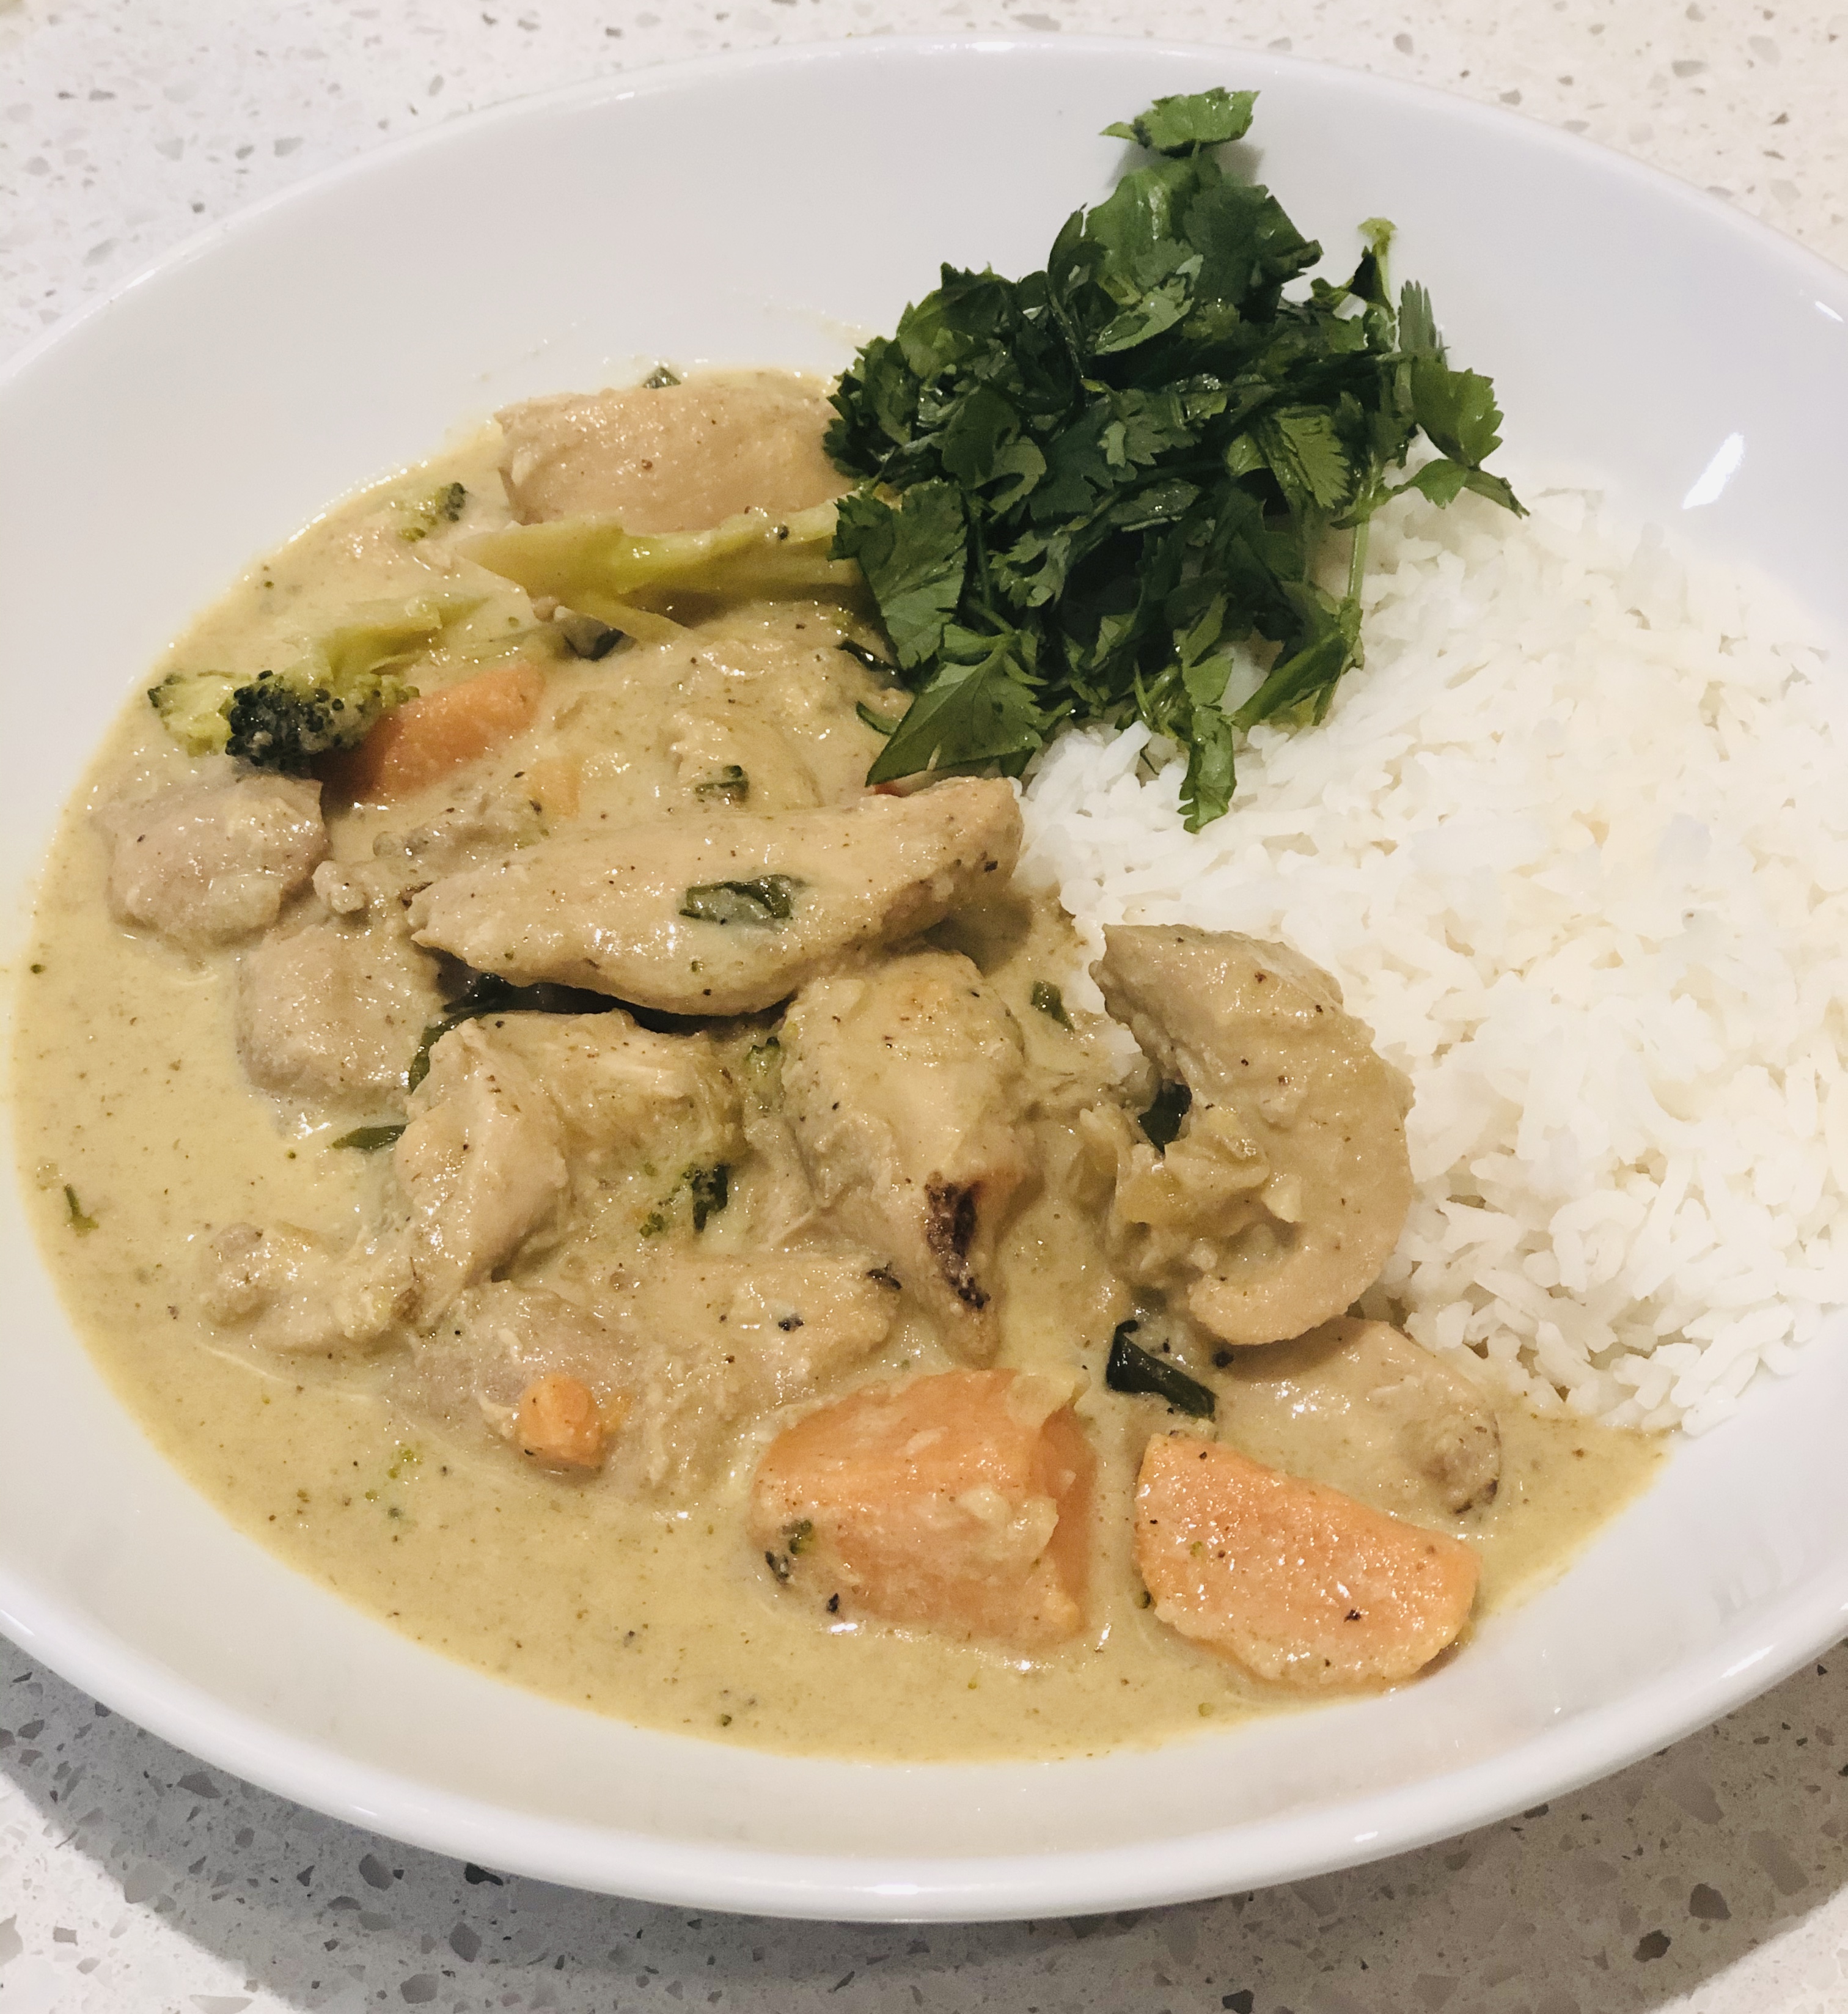
This is probably the most frequent dish in our house. Not only do we love curry but it’s become so quick and easy to make (once you buy all the seasonings the first time, you always have them on hand moving forward) and makes for fantastic leftovers. But I’m glad I haven’t posted until now as it’s taken a few times to hopefully get it just right. While every version has been pretty good, it has been my personal mission to figure out how to make our home-made curry taste like true, Thai restaurant-style curry. I think we finally figured it out (thanks to some insider scoop from a local chef in Costa Rica who helped me out). Anyways, here’s hoping you agree…you tell me!
Please note that this is an Instant Pot/pressure cooker recipe. But I’ve included instructions below to make this on the stove top if you don’t have a pressure cooker. The instant pot version includes red peppers, a nightshade, but ok to eat if you pressure cook them. Remember, lectins which are found in many foods including nightshades and legumes are considered inflammatory, but lectins can be removed from food if you pressure cook them (with the exception of gluten). Just remember to remove the red peppers from the recipe if you make the stove top version and are avoiding nightshades.
If you want to make this a veggie curry, I would follow the instructions for stove top cooking and just omit the chicken. Feel free to add additional veggies of choice (cauliflower and asparagus are always good!) for extra goodness and fullness.
Instant pot versus stove top? I personally like to make our chicken curry in the pressure cooker as it always ensures perfectly cooked chicken PLUS I can include nightshades. I can also just throw the raw chicken in the pot, close the lid and walk away. But if you don’t have a pressure cooker, no worries whatsoever. Just means you have to be a little more present when cooking on the stove top 🙂
INGREDIENTS
NB: Try to source organic wherever possible!
- 6 boneless, skinless chicken thighs, cut into strips or bite sized chunks (omit for veggie version)
- 2 tbsp avocado oil (or extra virgin olive oil, or ghee)
- Veggies:
- 2 – 3 tbsp fresh minced ginger
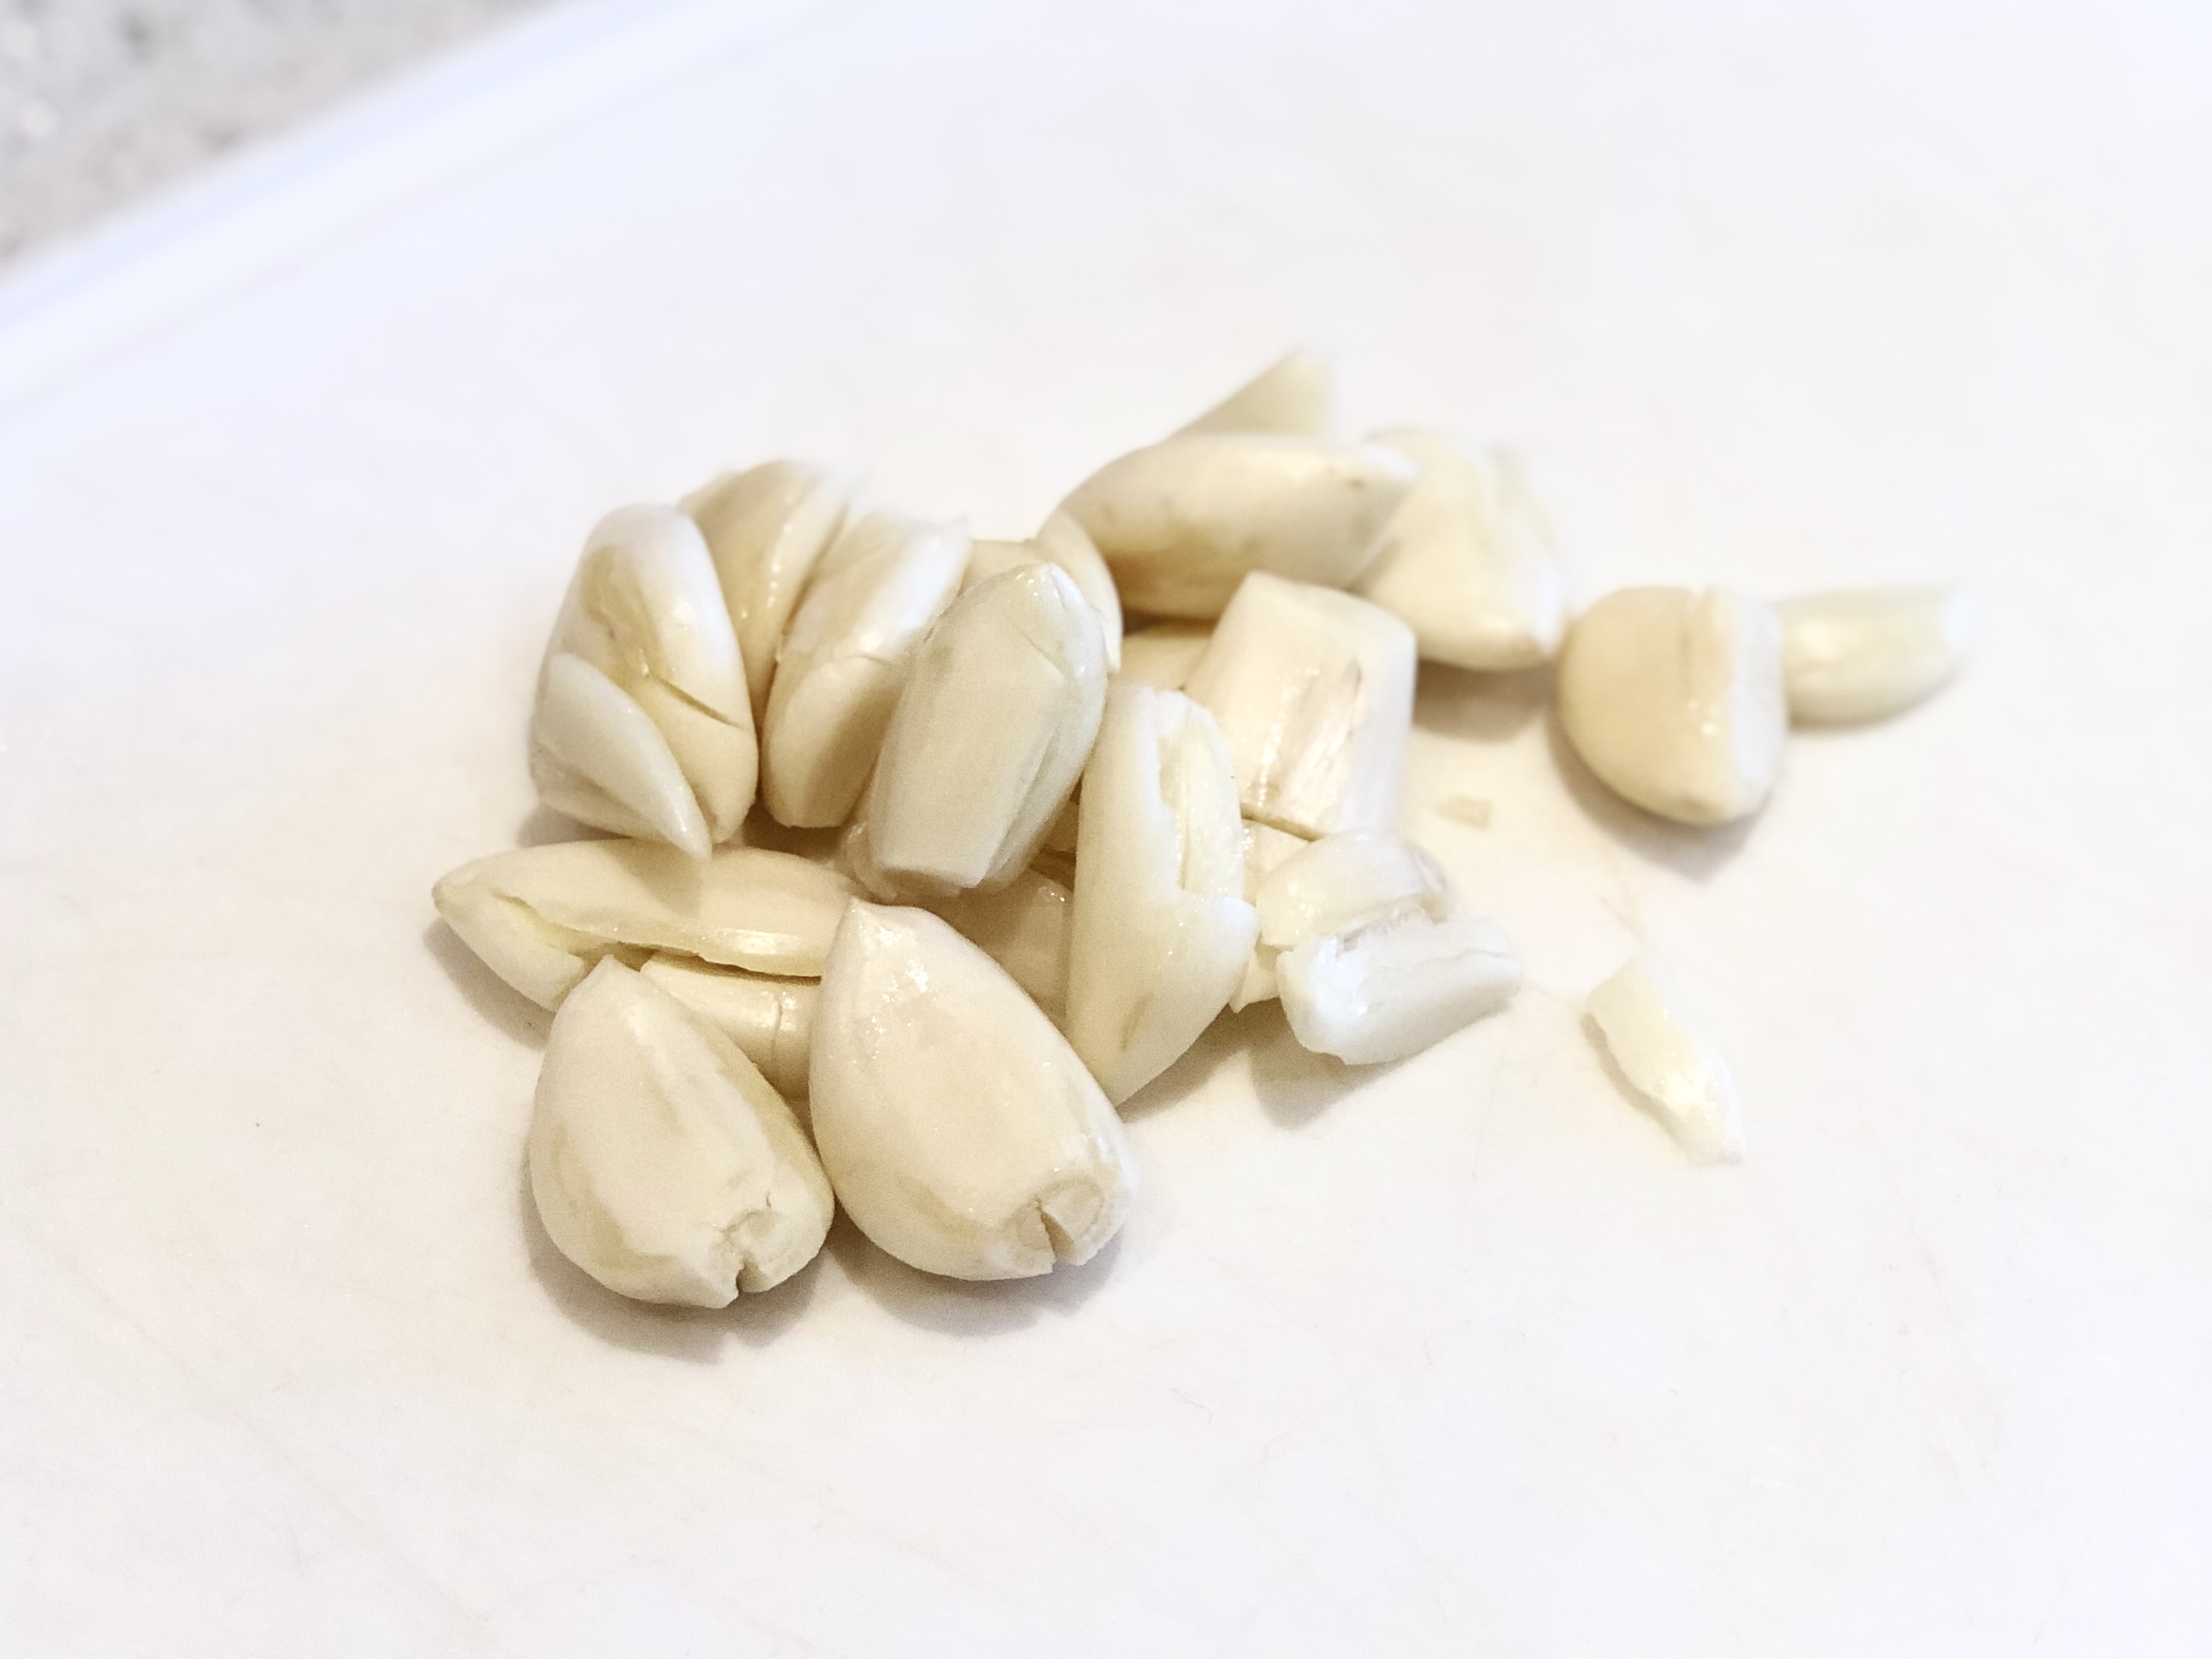
- 10 cloves fresh minced garlic (reduce to 3-4 cloves if you’re not a big fan of garlic or include the whole head if you love garlic and want an extra anti-inflammatory punch)
- 1/2 large sweet or yellow onion, diced
- 1 medium/large sweet potato, cut into bite sized chunks (add more if making veggie curry)
- 1/2 head of broccoli, chopped into florets (add more if making veggie curry)
- 1/2 red pepper, cut into thin slices (omit if making the stove top version and are avoiding nightshades, replace with cauliflower florets instead or chopped asparagus)
- fresh chopped cilantro (for garnish)
- 1 lime, squeezed
- Seasonings:
- 1 tsp turmeric
- 1 tsp anise seeds (or real star anise if you have it)
- 1 tsp cumin
- 1 tsp coriander
- 1 tsp salt
- 1 tsp fresh ground pepper
- one small jar of green curry paste (I tend to use Thai Kitchen as it’s not spicy)
- 2 cans full fat coconut milk
- 1-2 tbsp real maple syrup
- 1-2 tbsp fish sauce
- basmati rice OR cauliflower rice (click the link for recipe)
DIRECTIONS
STEP 1: Do all your prep
-
chop onion, mince garlic and ginger
- chop chicken thighs, set aside
- chop broccoli, sweet potato and red pepper, set aside
- start making basmati rice OR cauliflower rice (whatever your preference)
- chop cilantro, set aside
- cut lime in half, set aside
- ensure seasonings are accessible including turmeric, anise seeds, cumin, coriander, salt, pepper
STEP 2: Prepare curry
-
add avocado oil (or EV olive oil or ghee) to instant pot
- turn instant pot on in Saute mode (ensure temp is set between 190-200F so it doesn’t get too hot too quick)
- add chopped onions, garlic and ginger and saute a few minutes until onions get soft and aromatic
- then add 1/2 can of coconut milk along with 3/4 of the jar of Thai green curry paste; stir until dissolved
- add remainder of 1 can of coconut milk (the 2nd can is for later)
- add all your seasonings including: turmeric, anise seeds, cumin, coriander, salt and pepper (NB: if you are using actual star anise, add 3 stars when you are sautéing your onion, garlic and ginger)
- add chicken pieces and stir into sauce
STEP 3: Pressure cook
- Turn your pressure cooker OFF (as it was previously in Saute mode)
- Close and lock the lid (make sure valve is in sealed position)
- Then turn back Instant Pot back on by pressing Manual or Pressure Cook
- Set Pressure/Temp to High
- Set Timer to 6 minutes
- Start/On
- Make sure you have started to prepare your rice at this point as your curry will be ready shortly
NB! The 6 minute timer will NOT begin until the pressure cooker is UP TO pressure; this takes a few minutes (5-10) to get up to pressure after you press Start/On (the more food, the longer it takes to get up to pressure). Once up to pressure, the 6 minute countdown will begin and will ring once finished. After the timer, perform a QUICK RELEASE of your pressure cooker, which means, flick the valve at the top to open (or steam release). Use an oven mitt and stand back. If you somehow miss hearing the timer go off, the instant pot will automatically switch to “Keep Warm” mode and will start counting back up (and will start to naturally release the pressure). It will continue counting back up until you turn it off. FYI: Pressure cookers will ALWAYS switch to “Keep Warm” mode once the timer goes off and it’s done pressure cooking. Just always remember to flick the valve open to release the pressure before opening.
STEP 4: Add your veggies and pressure cook again
-
Once the pressure has been released (i.e. there is no more steam spewing from the valve), open the lid
- Give your curry a stir and then add sweet potatoes, broccoli and red pepper
- Close and lock the lid again, set the valve to sealed position
- Turn the pressure cooker to OFF (to get it out of Keep Warm mode), then press Manual or Pressure Cook
- Set Pressure to High
- Set Timer to 1 Minute (yes 1 minute)
- Start/On
- Let it get up to pressure again and then count down 1 minute. After the 1 minute timer goes off, perform another quick release of the pressure cooker.
- Once all the pressure has been released, open the lid
- Stir and add 2nd can of coconut milk – NB! I tend to only add 1/2 of this 2nd can but it’s totally up to you. Perhaps start with 1/2 the can and then add more if you want more broth and/or a thinner consistency.
- Then add maple syrup and fish sauce (start with 1 tbsp of each then add more to taste if you want)
- Squeeze and stir in juice from one lime
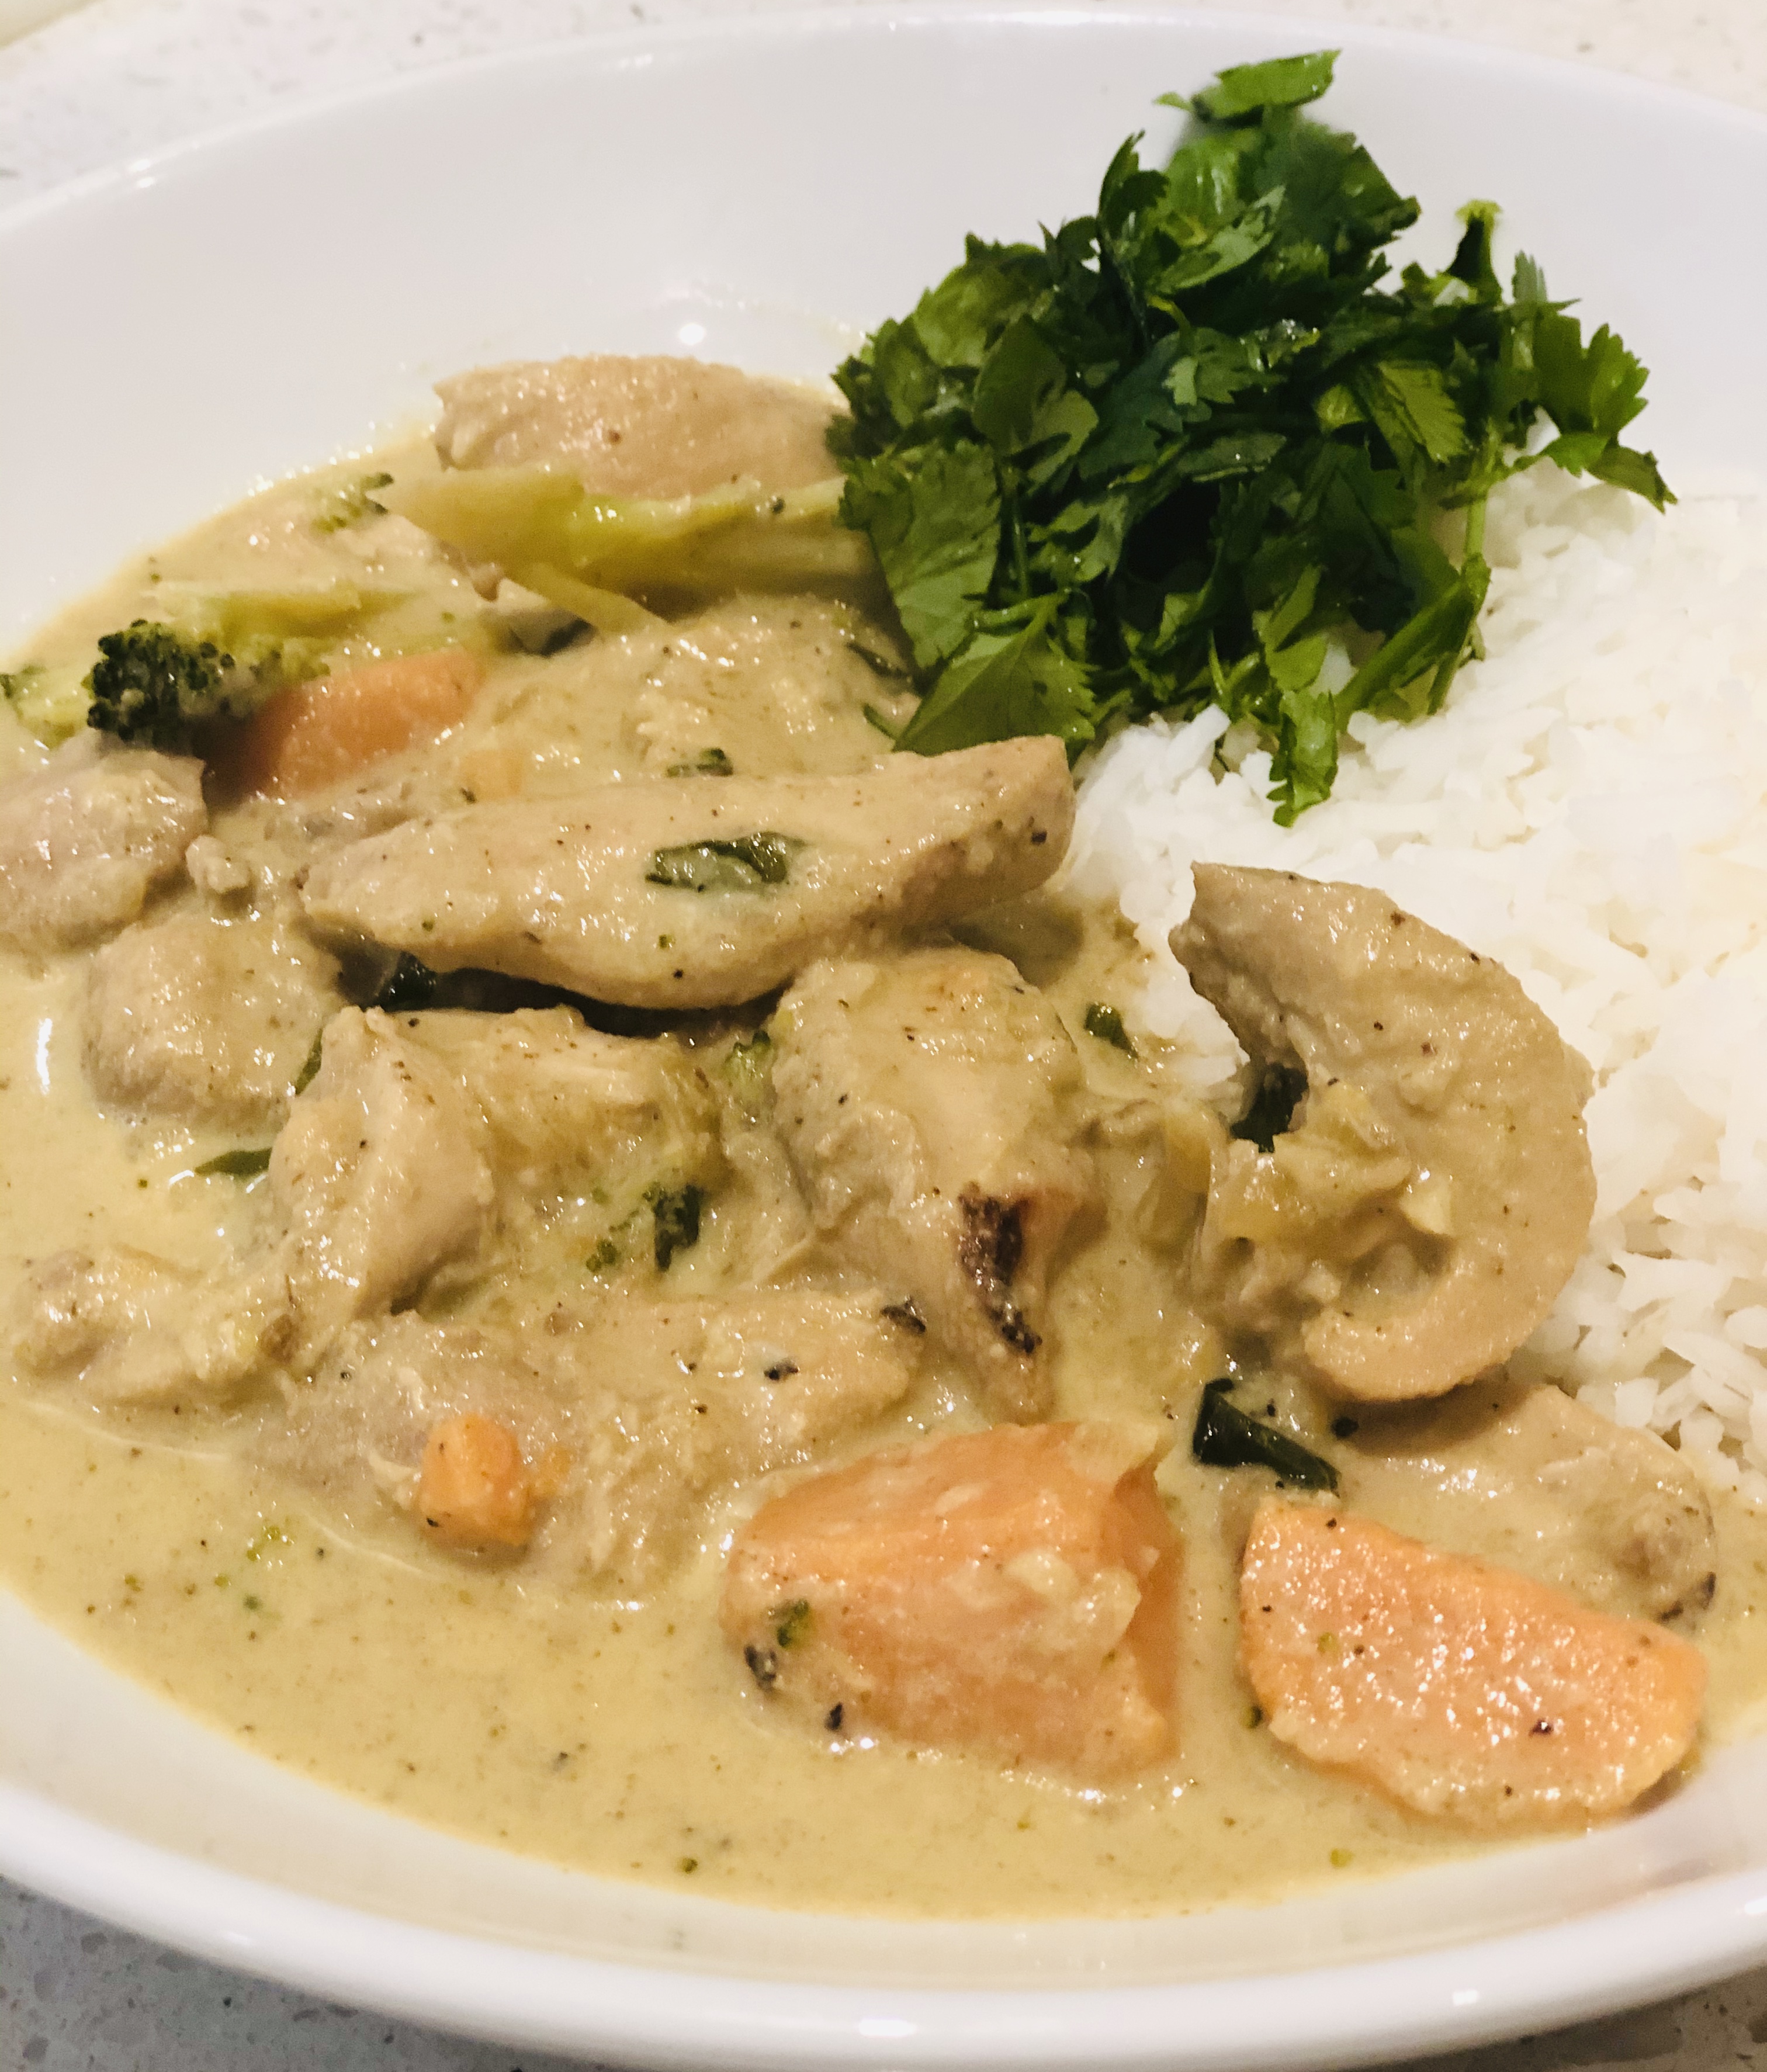
STEP 5: Serve and Enjoy!
- Serve curry over basmati or cauliflower rice
- Garnish with cilantro
- For those that like spice, add cayenne pepper to your liking (or Sriracha for those not avoiding sugar or nightshades)
SEE BELOW FOR STOVE TOP INSTRUCTIONS

DIRECTIONS FOR STOVE TOP CURRY
STEP 1: Do all your prep
-
chop onion, mince garlic and ginger
- chop chicken thighs, set aside (omit if making a veggie curry)
- chop broccoli, sweet potato and red pepper, set aside (omit red pepper if avoiding nightshades, add extra broccoli and/or cauliflower florets instead)
- start making basmati rice OR cauliflower rice (whatever your preference)
- chop cilantro, set aside
- cut lime in half, set aside
- ensure seasonings are accessible including turmeric, anise seeds, cumin, coriander, salt, pepper
STEP 2: Make curry
-
add avocado oil (or EV olive oil or ghee) to stove top in a large sauce pan on medium-high heat
- add chopped onions, garlic and ginger and saute a few minutes until onions get soft and aromatic
- add chicken pieces and brown (on all sides) for approximately 6-8 minutes until mostly cooked thru (you may want to reduce the heat so as to not burn the garlic) – omit this step if doing veggies only
- then add 1/2 can of coconut milk along with 3/4 of the jar of Thai green curry paste; stir until dissolved
- add remainder of 1 can of coconut milk
- add all your seasonings including: turmeric, anise seeds, cumin, coriander, salt and pepper (NB: if you are using actual star anise, add 3-4 stars when you are sautéing your onion, garlic and ginger – leave them in your curry until serving time)
- add sweet potato
- add 2nd can of coconut milk – NB! I tend to only add 1/2 of this 2nd can but it’s totally up to you. Perhaps start with 1/2 the can and then add more as you go along if you want more broth and/or a thinner consistency.
- bring pot to a boil, then reduce to simmer for 5 minutes
- then add broccoli and red pepper and continue to simmer for 5-10 minutes until sweet potato is to the texture of your liking
- add 1 tbsp maple syrup, 1 tbsp fish sauce and juice from one lime – taste test and add any additional syrup, fish sauce or lime juice to taste
STEP 3: Serve and Enjoy!
- Serve curry over basmati or cauliflower rice
- Garnish with cilantro
- For those that like spice, add cayenne pepper to your liking (or Sriracha for those not avoiding sugar or nightshades)
As always, don’t hesitate to email me with any questions. And please message or comment @karliskitch if you make this! Would love to know.
Karli 🙂